-
Open MYINBX.EU and press Get Started
Go to myinbx.eu and press Get Started.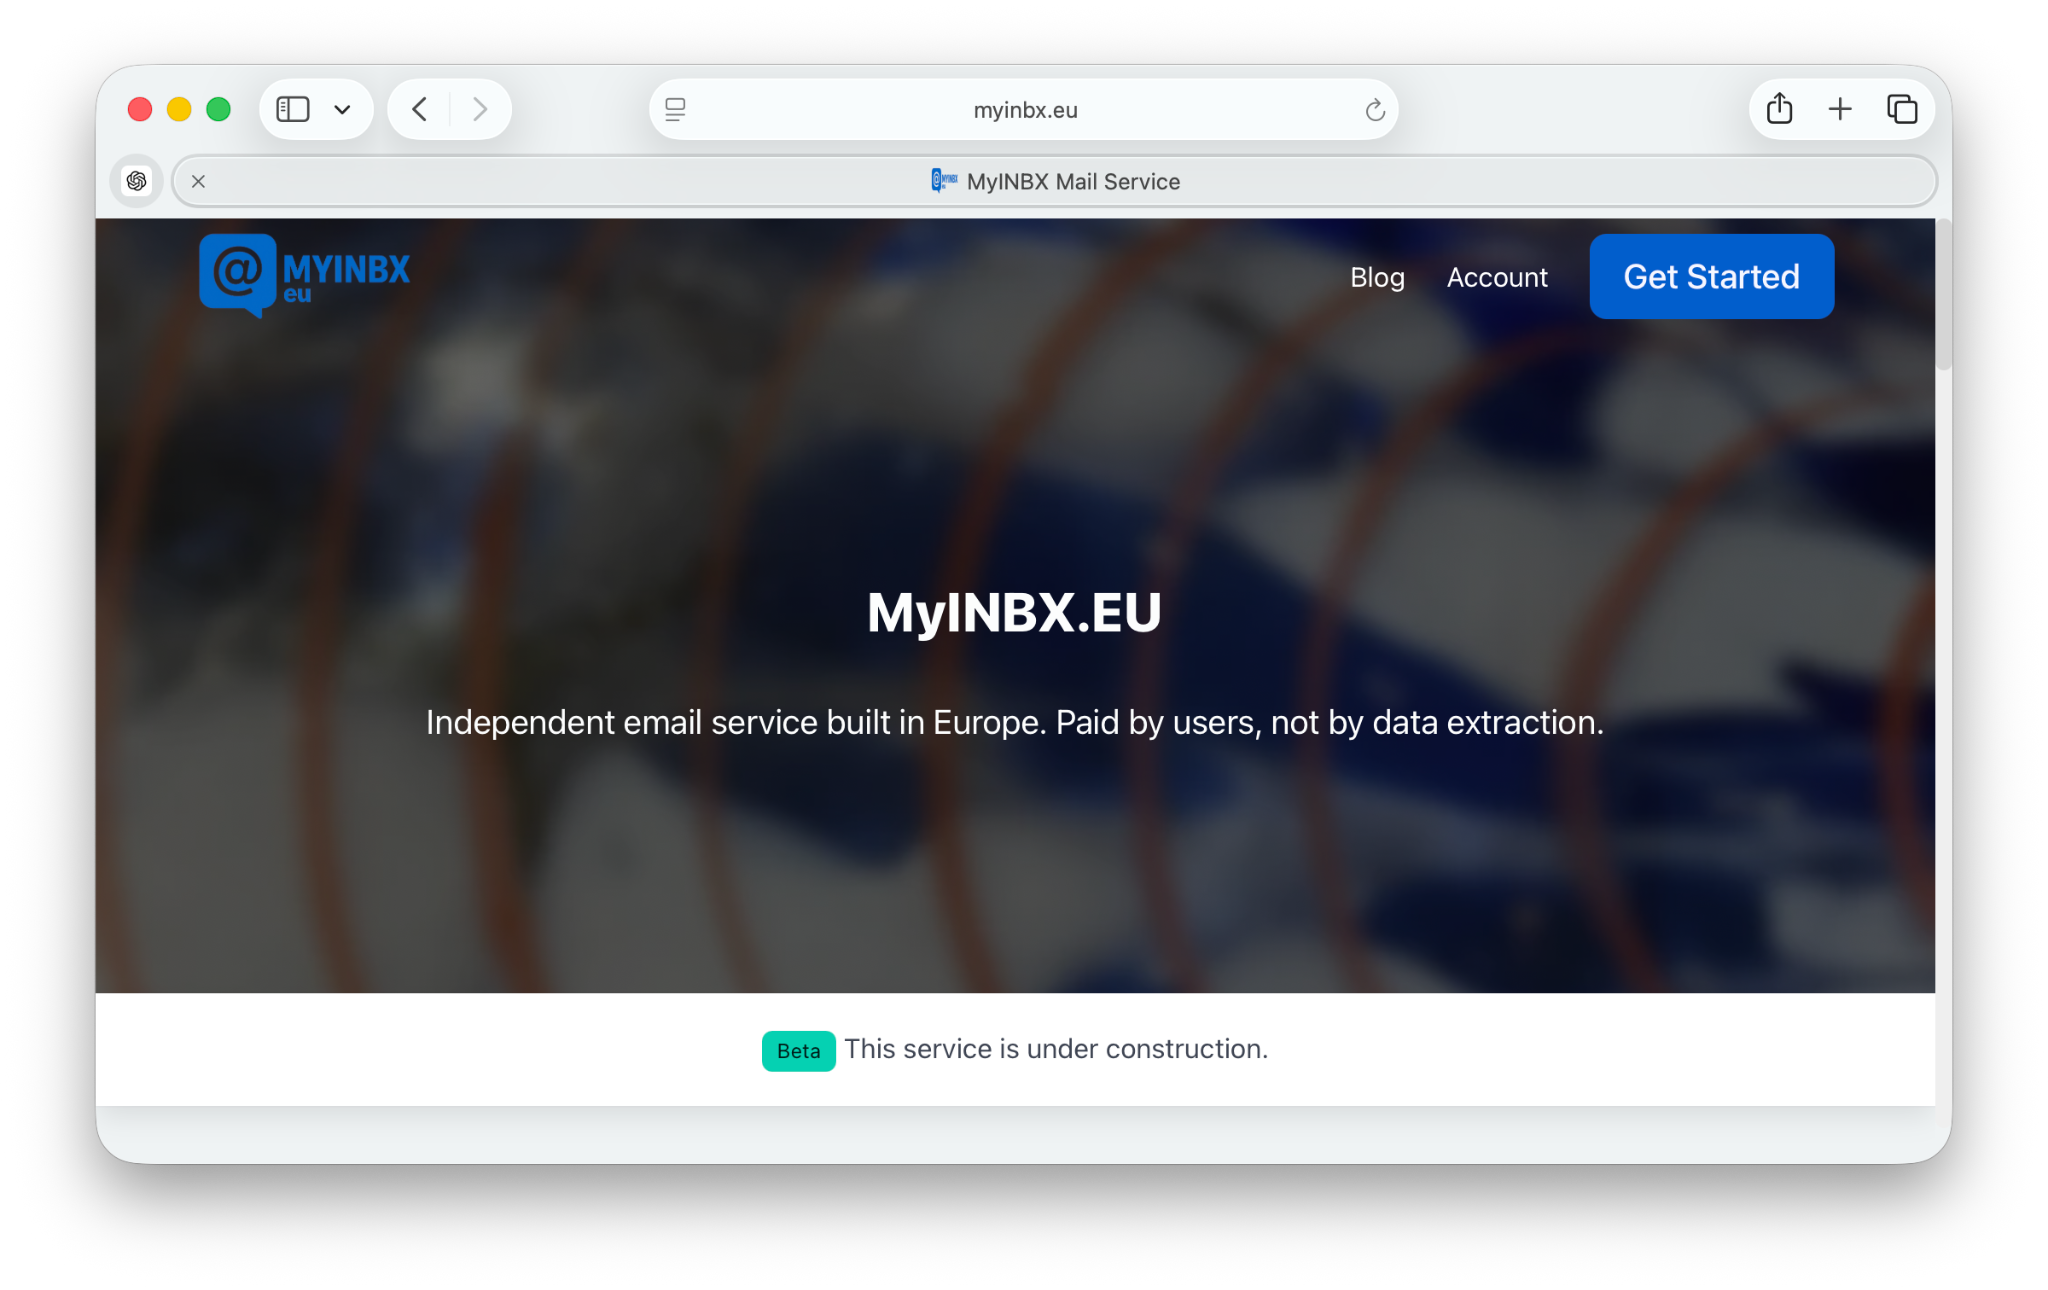
Start page — press Get Started to create a new account. -
Choose your email name and domain
Enter the email name you want, choose the domain, and press OK.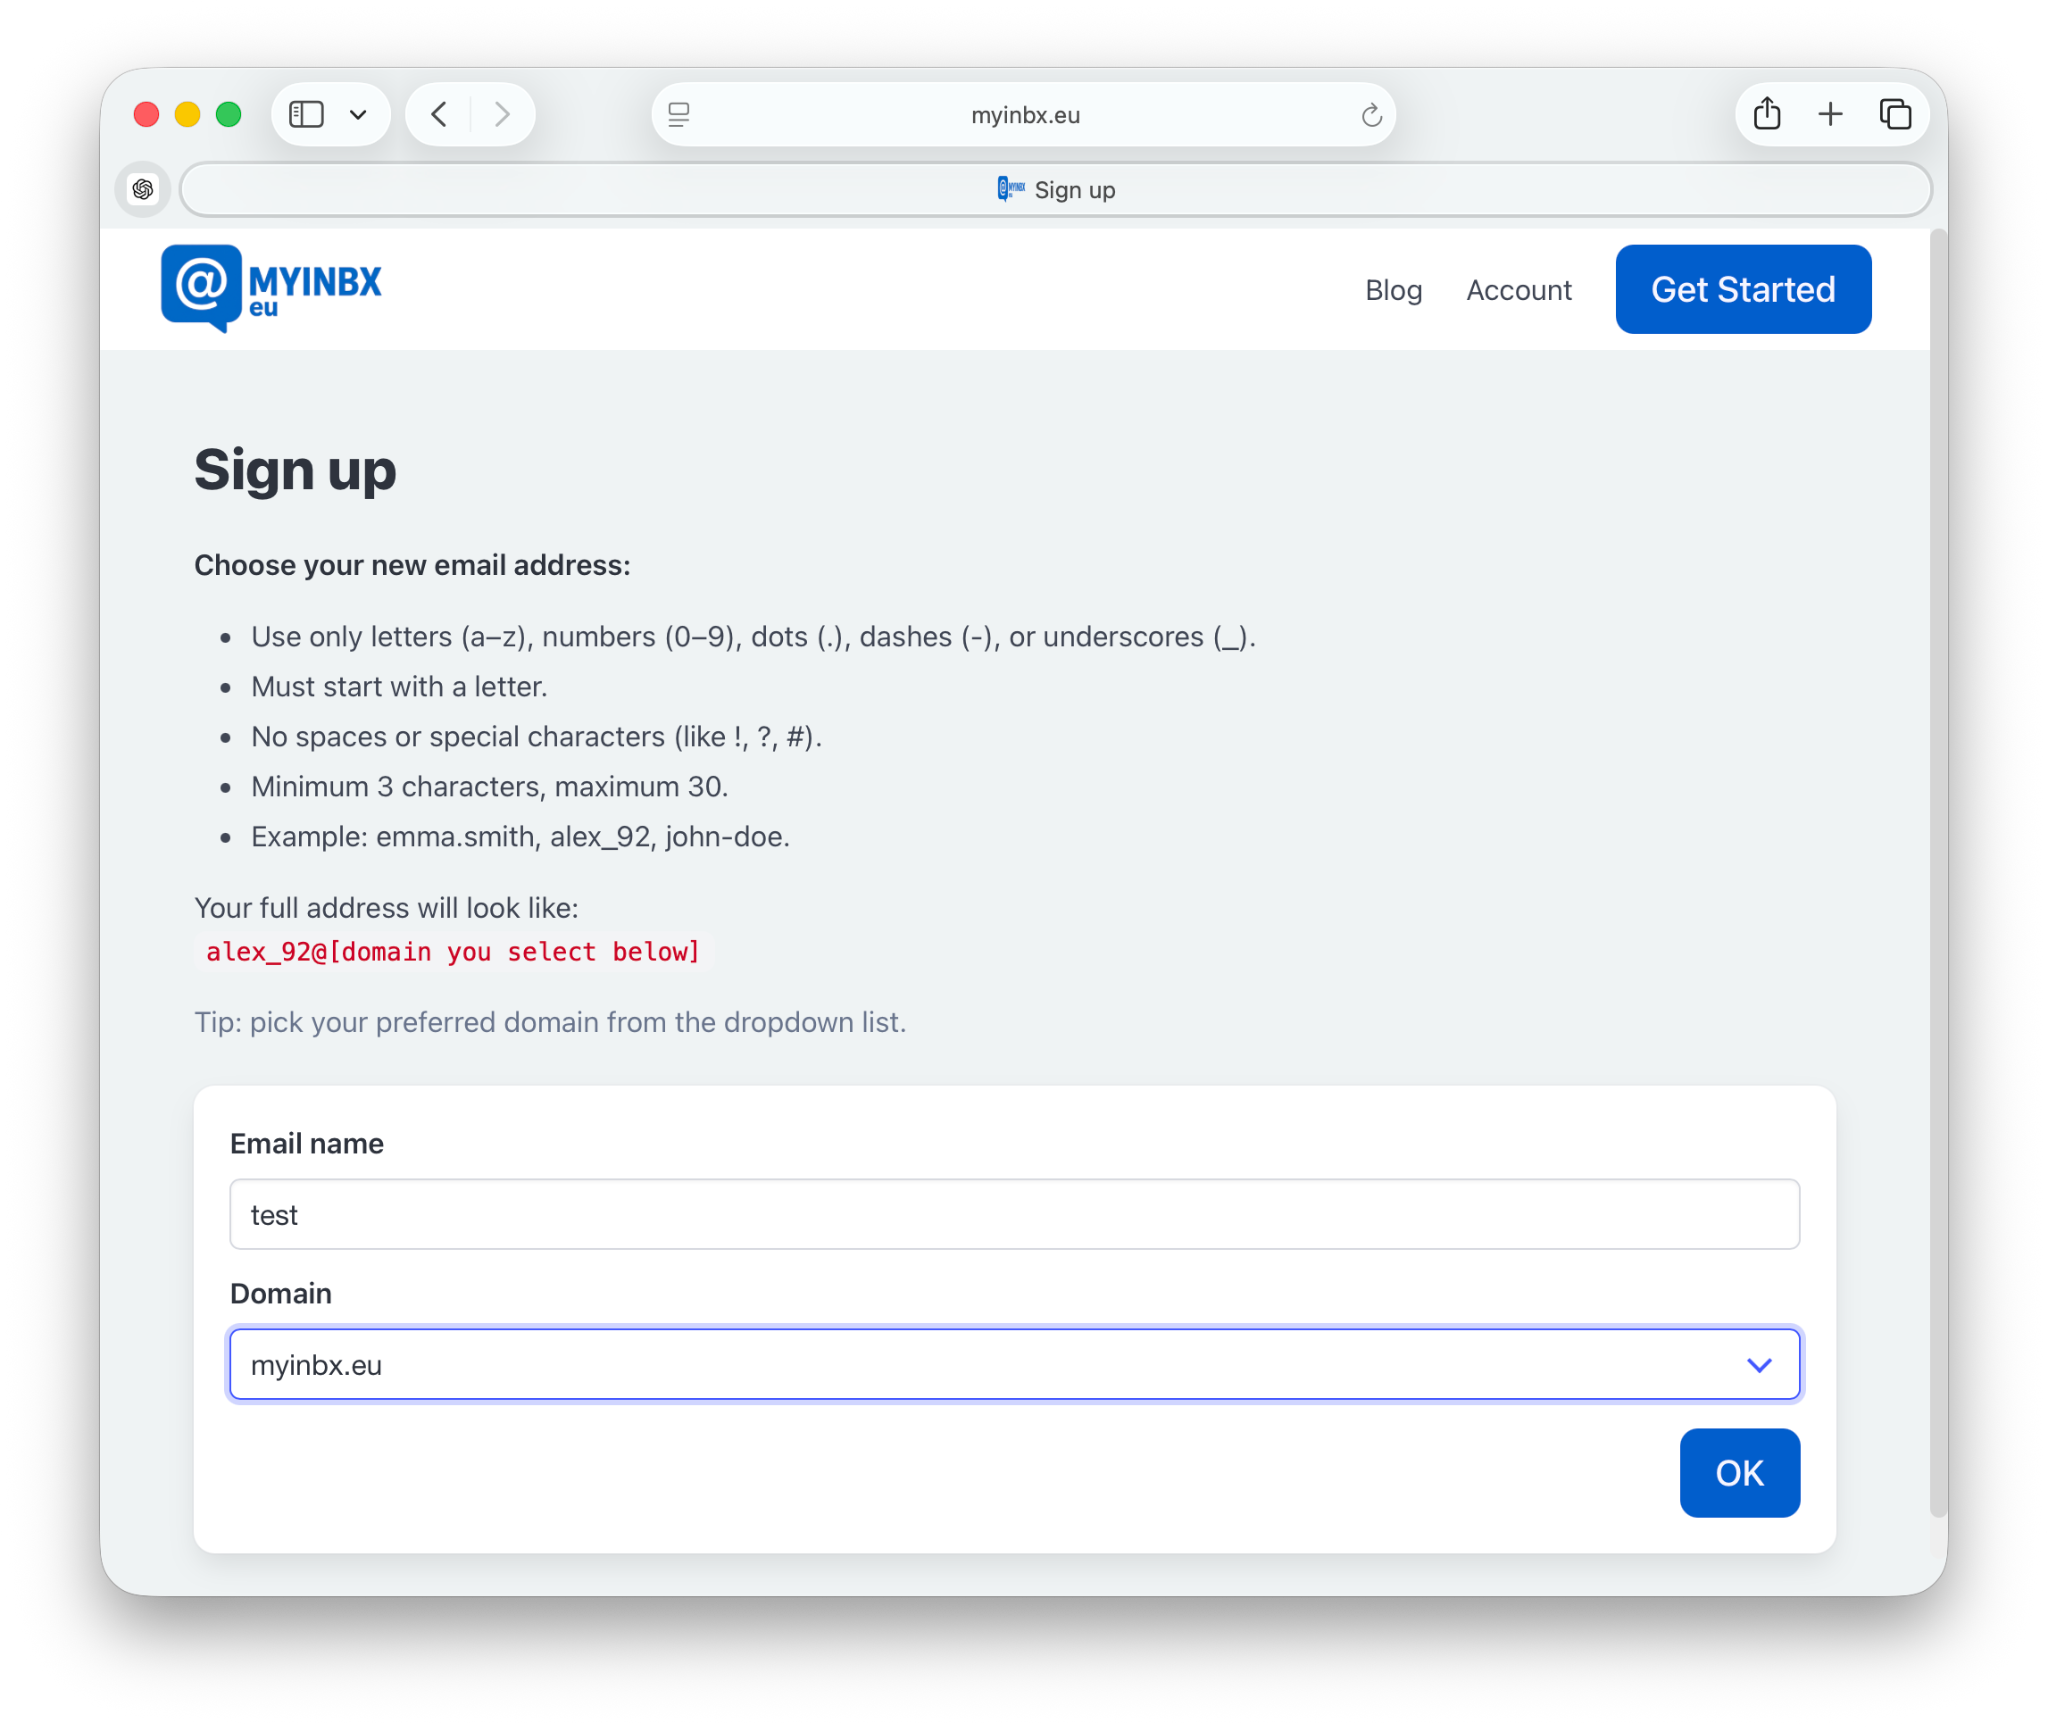
Choose the address you want to create. -
Confirm the email address
Check that the full email address is correct before continuing.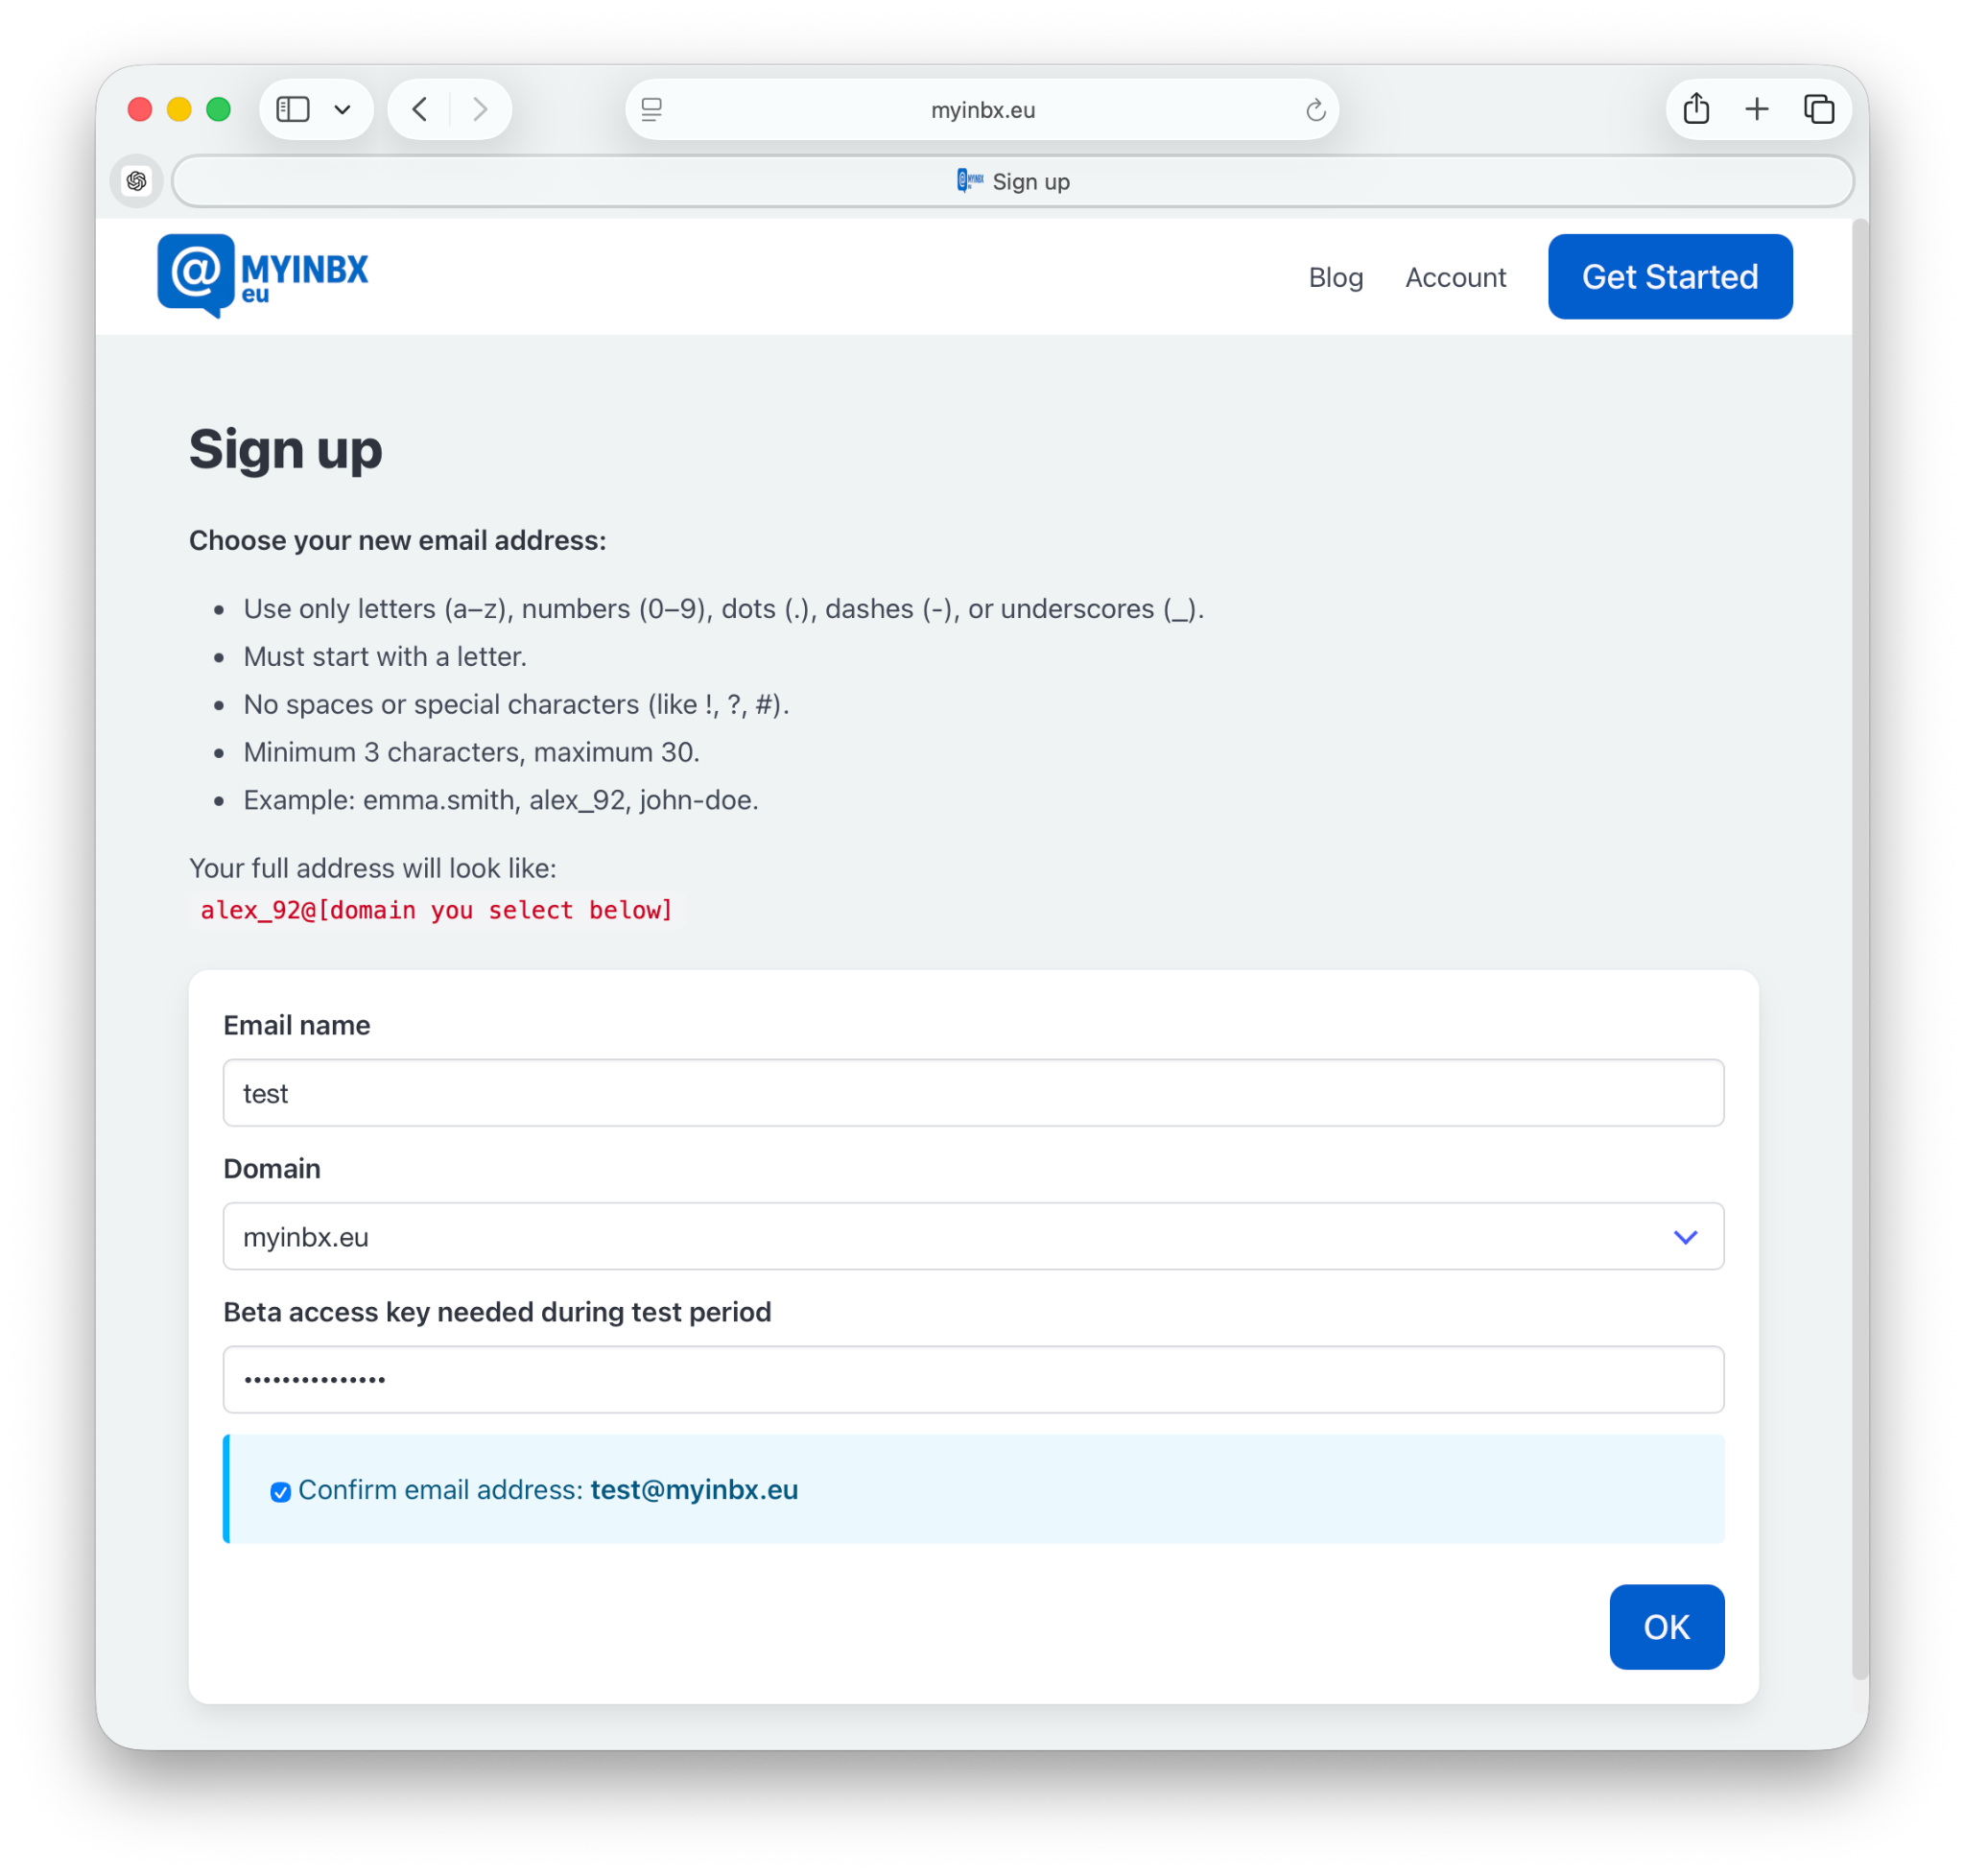
Confirm the new MYINBX address. -
Save your account details
Your username, email address and password are shown once. Save them before continuing.Important: keep the password safe. You need it to add the account to Apple Mail.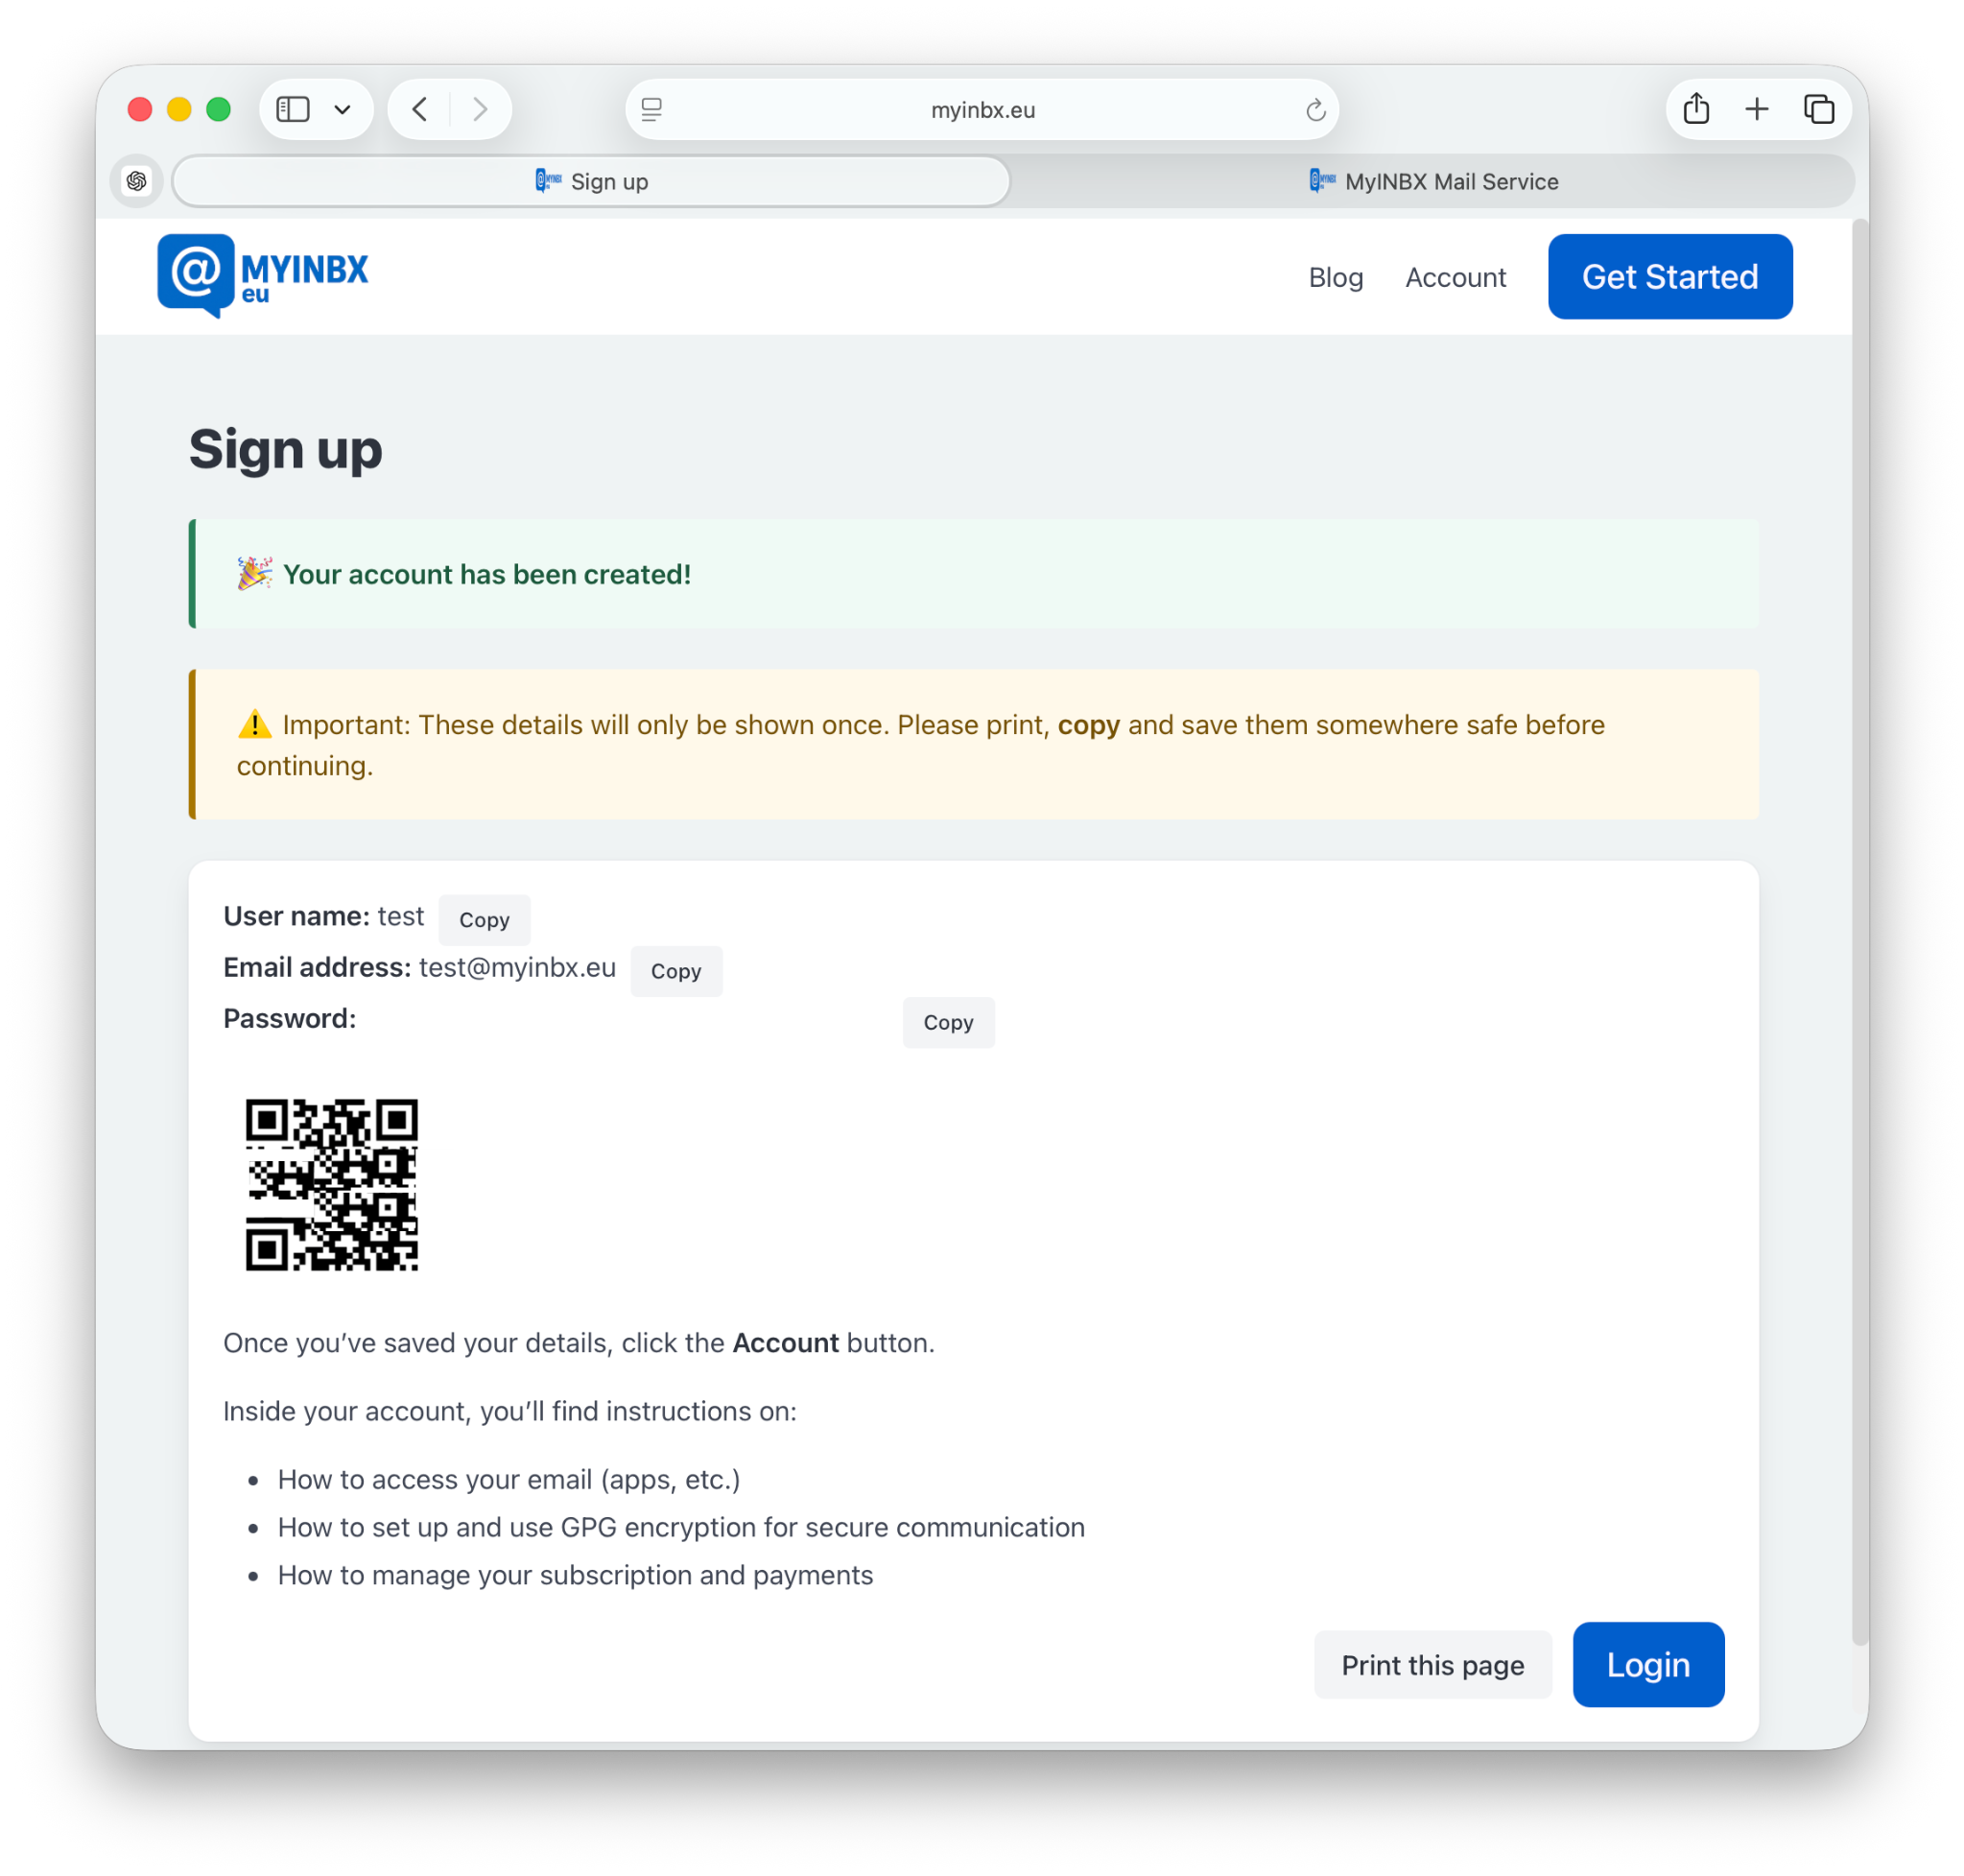
Account created — copy, print or save the details. -
Log in to your MYINBX account page
Use your username and password to log in.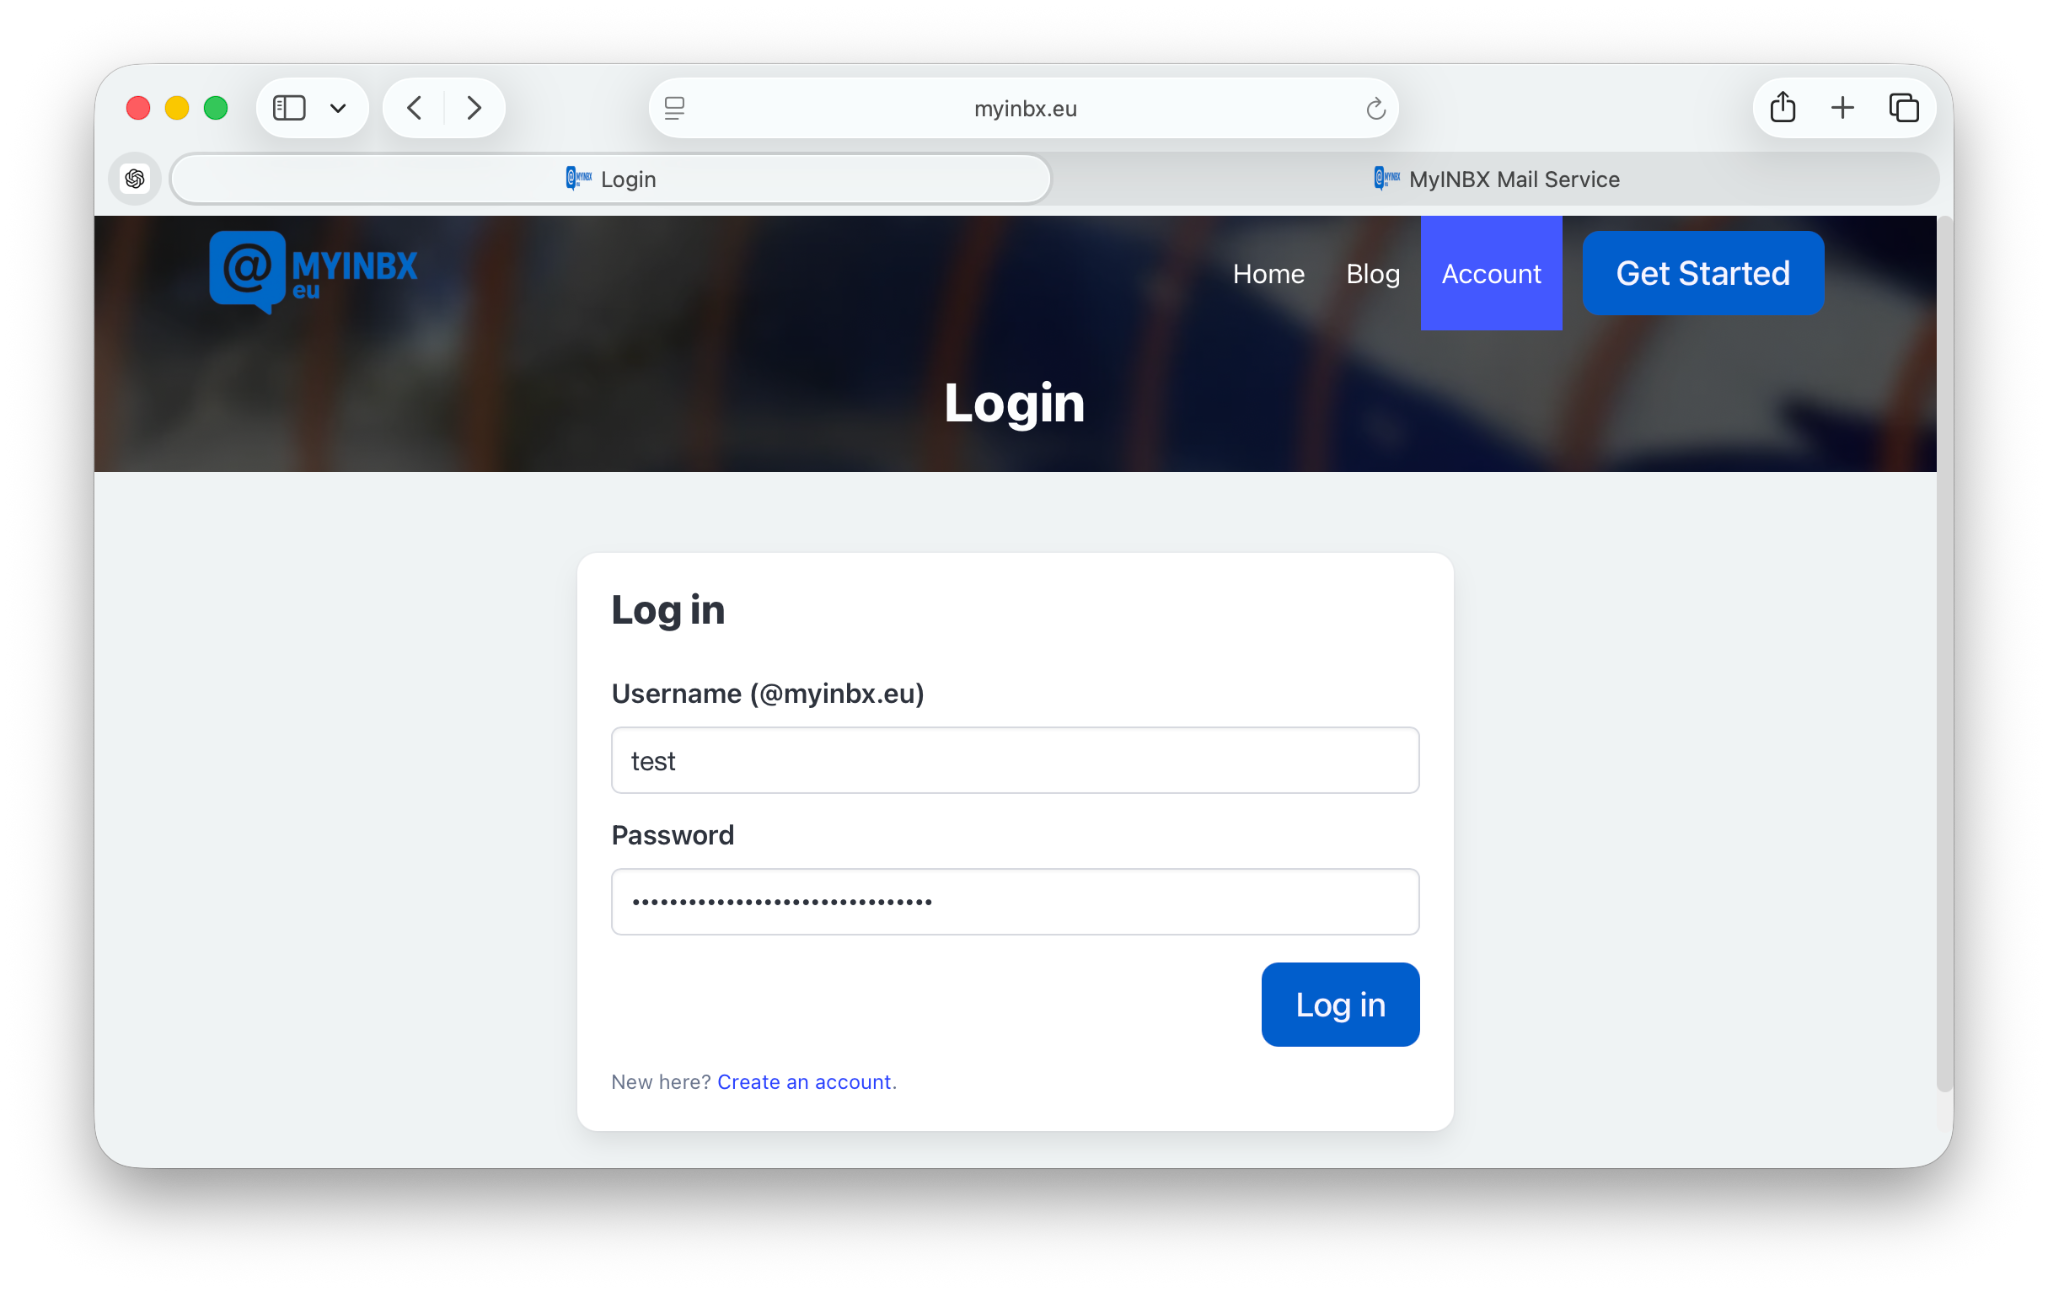
Login page — enter your MYINBX username and password. -
Open the account page
Inside your account you can see your address, payment status, aliases and encryption options.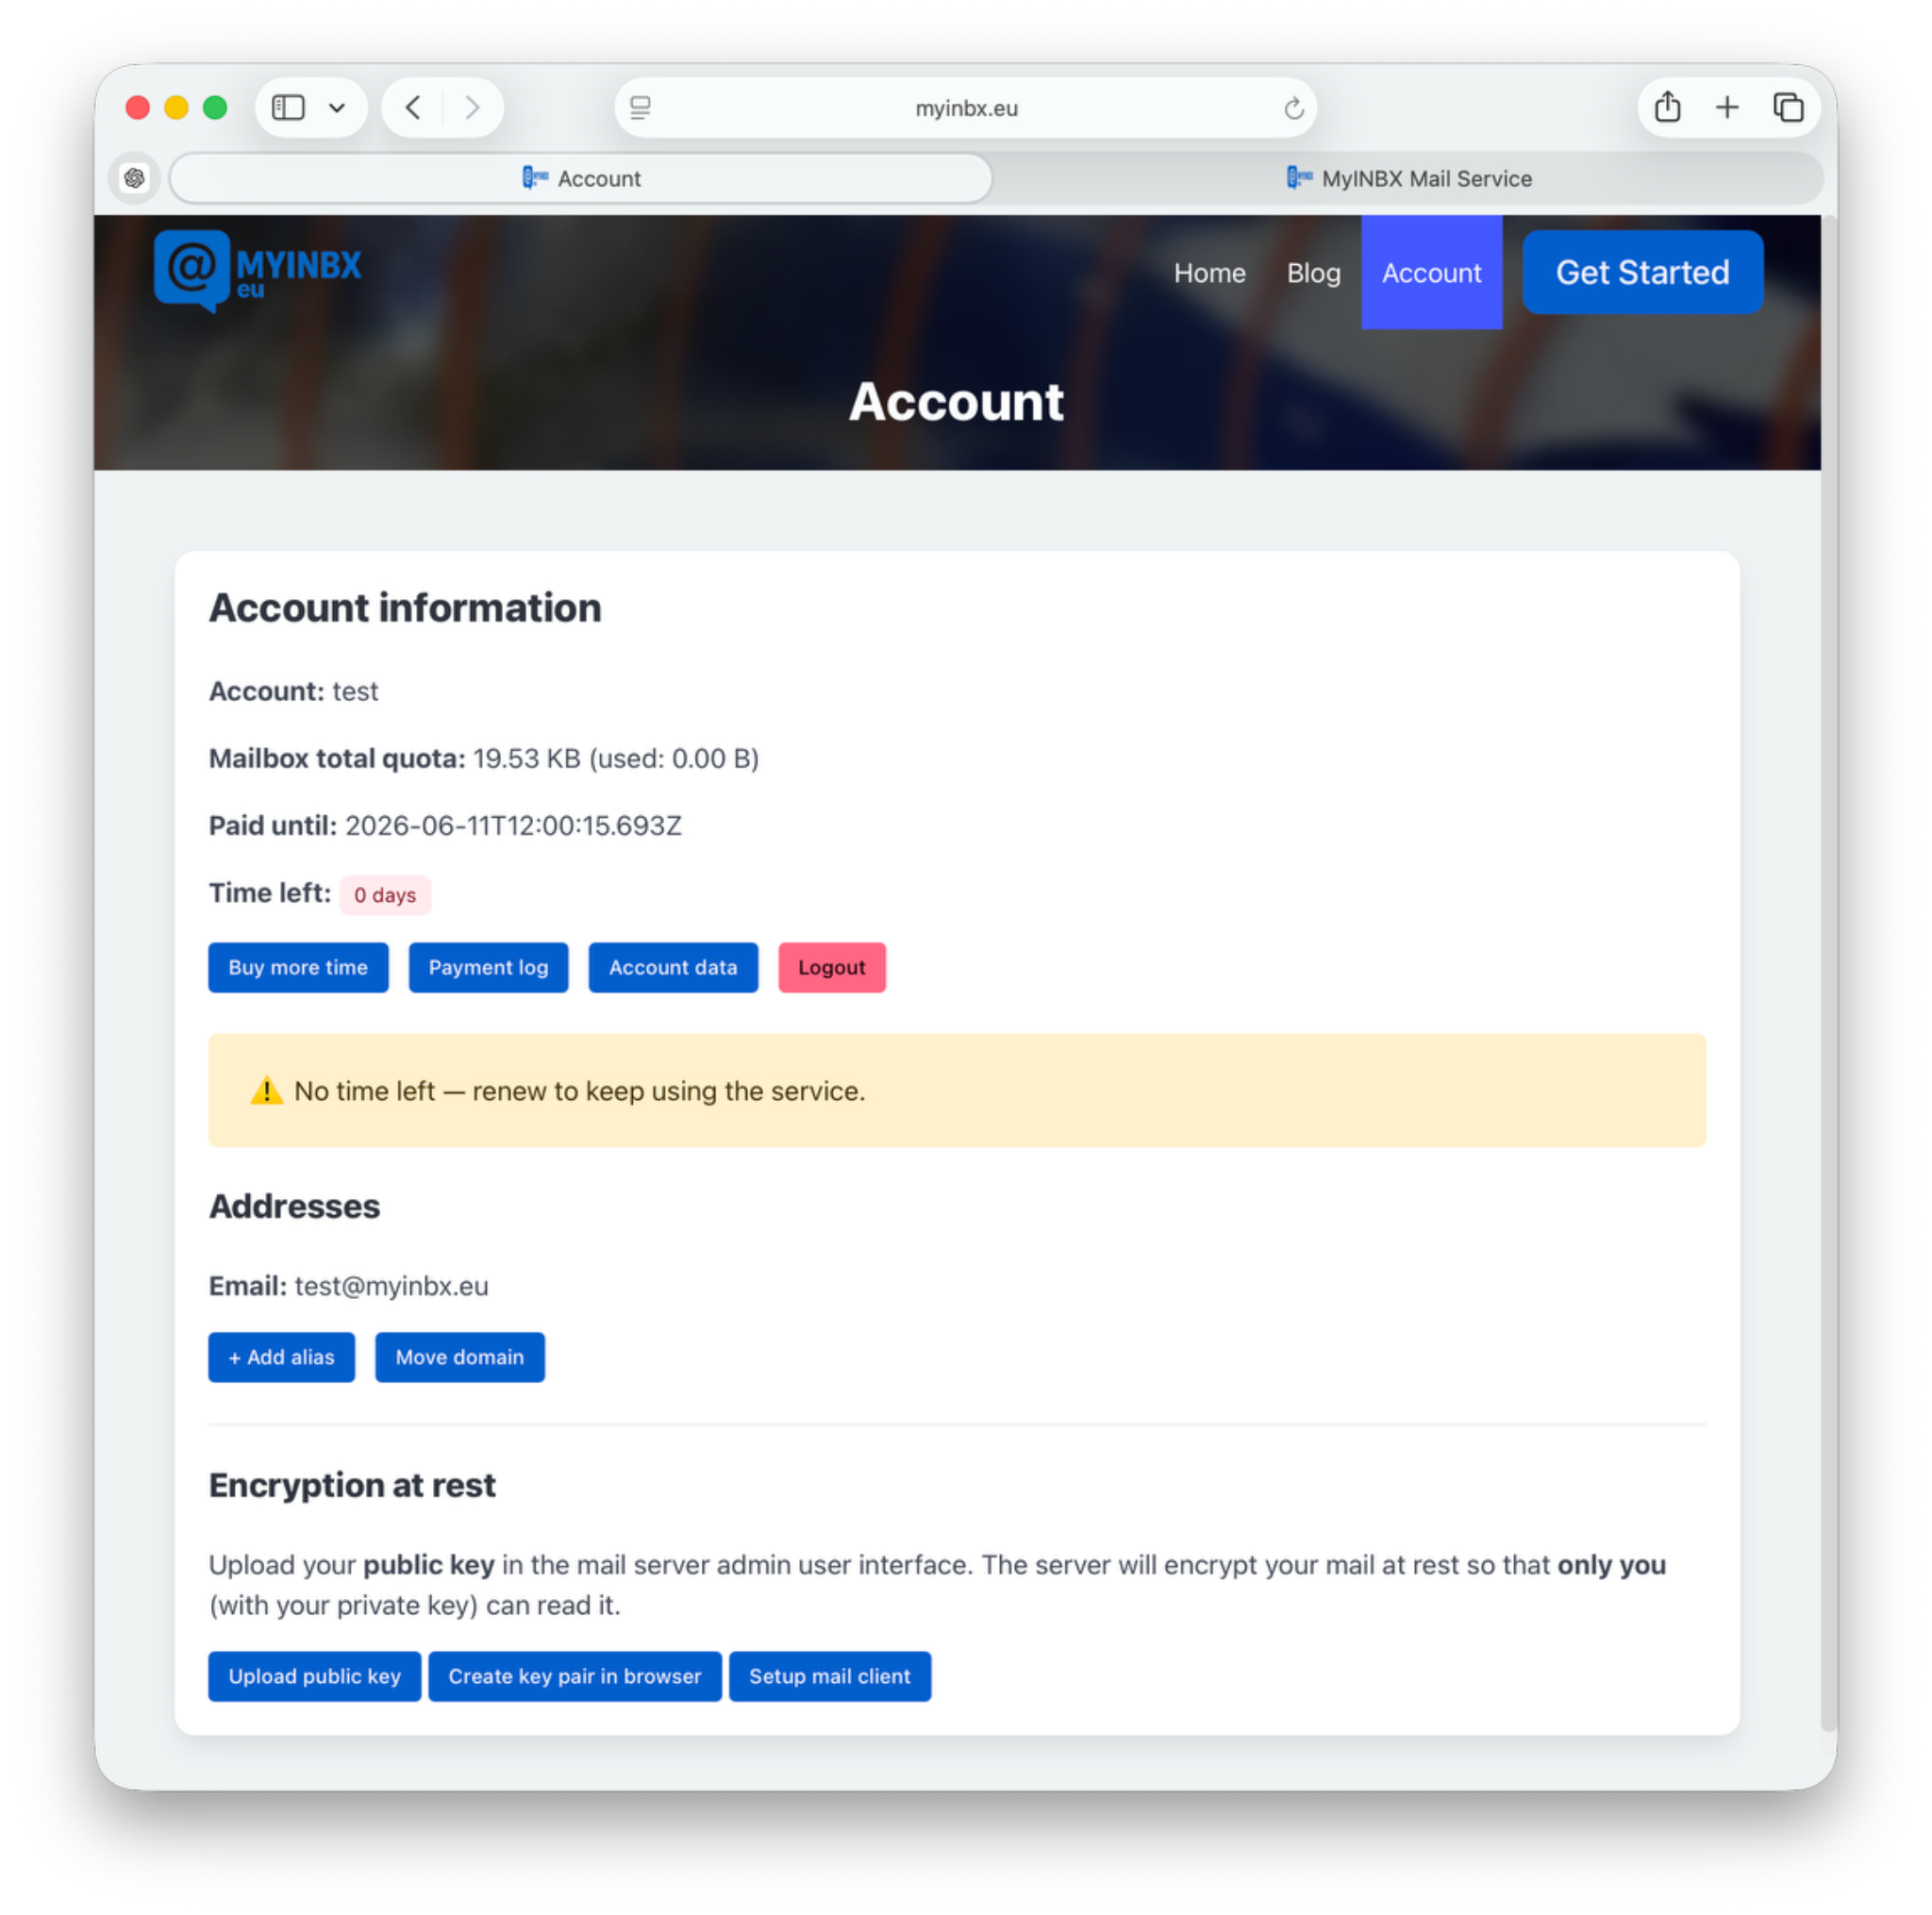
Account page — your email address and account tools. -
Add the account in Apple Mail
Open Mail on your Mac. Choose Mail → Add Account…. Select Other Mail Account…, or choose from the list if macOS shows that option. Enter your full MYINBX email address and continue.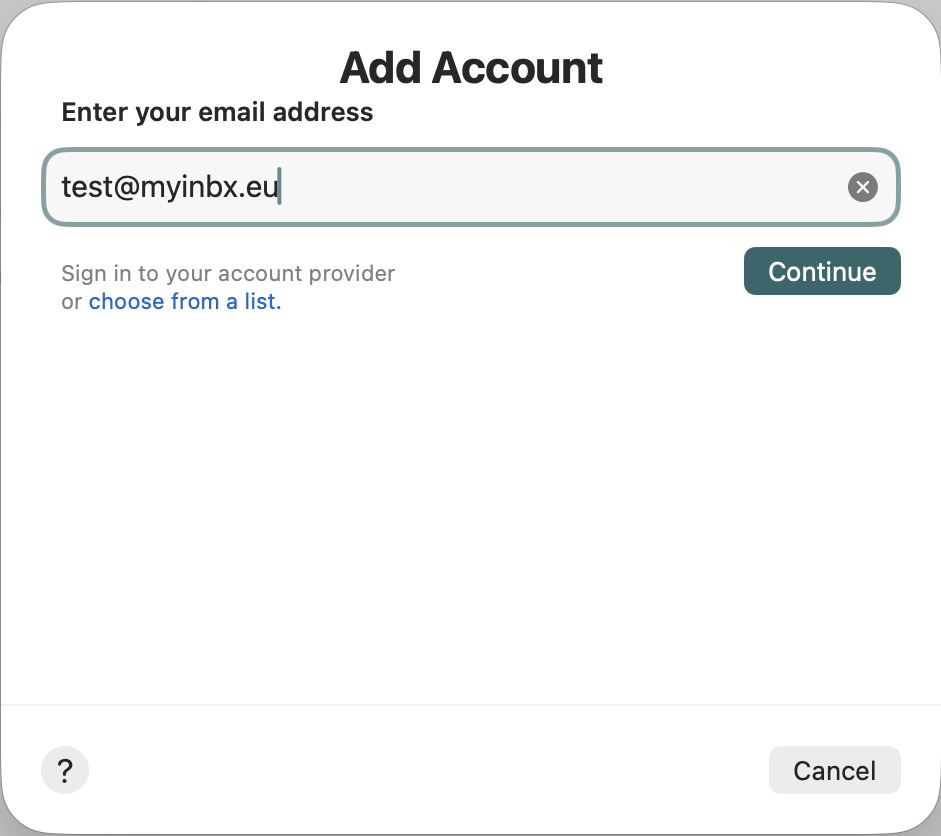
Apple Mail — add a new mail account. -
Enter name, email and password
Fill in your name, full email address and password, then press Sign In.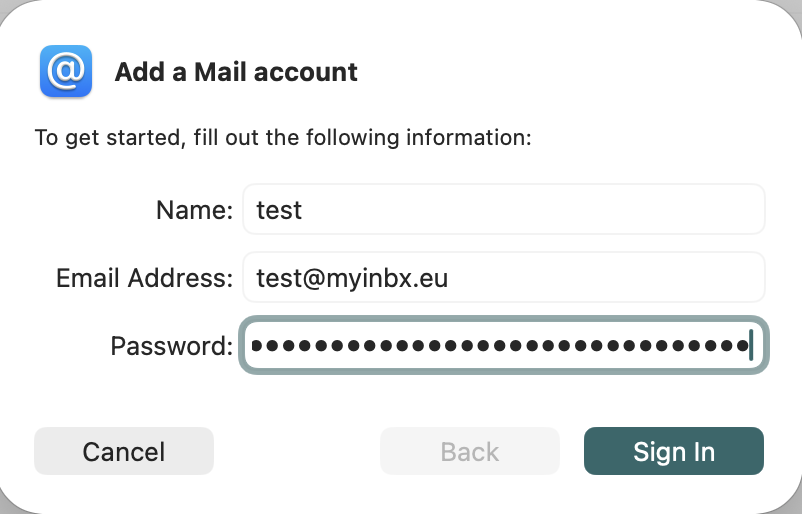
Enter your MYINBX email address and password. -
Enter manual server settings if needed
If Apple Mail asks for server settings, use:- Account Type: IMAP
- Username: your MYINBX username, for example test
- Incoming Mail Server: mail.myinbx.eu
- Outgoing Mail Server: mail.myinbx.eu
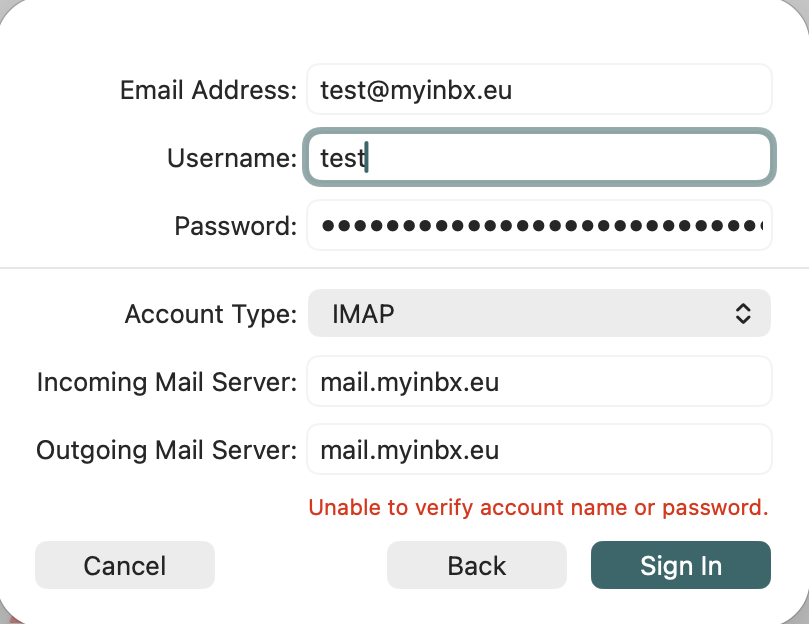
Manual settings — IMAP with mail.myinbx.eu for both incoming and outgoing mail. -
Select Mail and finish
Keep Mail selected. Notes can be disabled if you only want email. Press Done.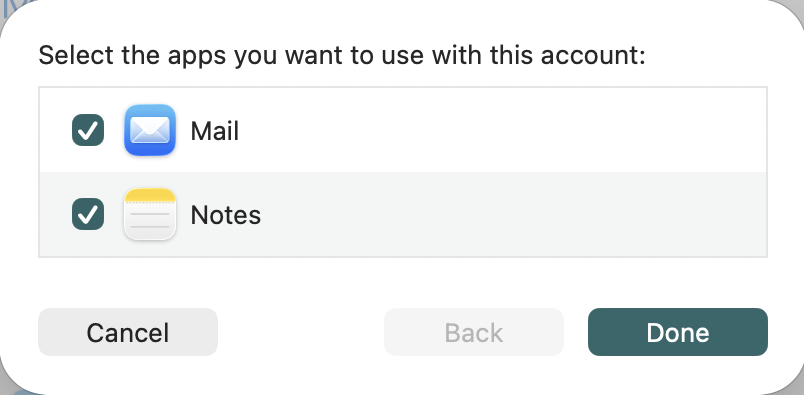
Finish setup — select Mail and press Done.
Done
Your MYINBX account should now appear in Apple Mail. New mail will arrive through IMAP, and outgoing mail will be sent through mail.myinbx.eu.
If sign-in fails: check the password, check that the username is the MYINBX username without @myinbx.eu, and make sure both server fields are mail.myinbx.eu.